Magled - a maglite LEDmod
This tutorial shows, how you can mod your maglite "S2D016" (2 mono battery model) into a LED jedi lightsaber. This is my second attempt doing it and it took me about 60 minutes to mod it having one LED in the bulb holder of the maglite and one spare LED "bulb" in the back.Warning / Terms of use / Disclaimer
This tutorial does not come with any warranty, whatsoever!If you want to follow this tutorial, it is strongly recommended you have knowledge about electronics!
I'll not be responsible for any harm you do to any human being, yourself, your environment, your house, your cat, the entire world or whatsoever.
BEEEEER!
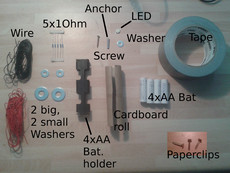
I'll be happy if you like this tutorial and buy me a beer; - go to piie.net and click the "donate" button on bottom of the page.1) Needed material
- Some wire
- 5x1 Ohm resistors
- Small screw and anchor
- 2 big and 3 small washers
- Super bright white LED (3.5V - 350mA)
- Some tape
- 4xAA battery holder
- 4xAA batteries
- Some paperclips
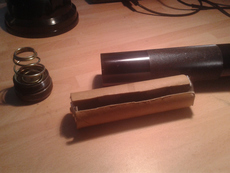
- Cardboard roll
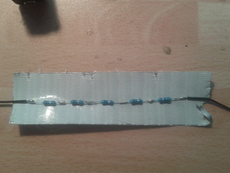
2) Solder resitors
The four AA batteries produce about 5V and the LED has a threshold voltage of about 3.5V, thus we need 1.5V at the resistor. As we want about 350mA of current, we result in a resistor of 5Ohm. If we would use just one resistor, it would burn 0.5W, so to distribute the energy along 5 resistors with 1 Ohm each.To ensure there's no shortcut, we isolate them with some tape.
3) Battery holder
The original maglite was built for 2 mono batteries, having max 3V, which is not enough for the LED we use. That's why we use such a 4xAA battery holder. Using some tape we stick the resistors ontop of the holder and solder one of the wires of the resistors to the GND pin of the battery holder.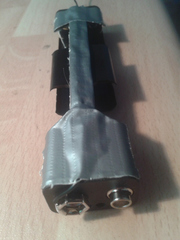
4) Battery contacts
To emulate the huge mono batteries, we use a big and a small washer and stick them together with the paper clip.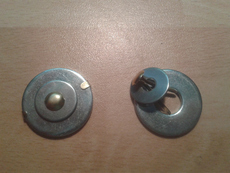
Then we use a hot glue gun to fix the construction.
5) Connect battery contacts
We connect the contacts by soldering some wire to the paperclip and then the GND contact to the other end of the wire coming from the other end of the resistor chain. And the plus contact to the plus contact of the battery holder.
We want to isolate the edges of the plus pin with some tape to prevent from shortcuts.
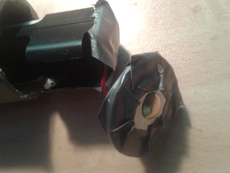
We put the battery holder in the cardboard roll taken from empty aluminum roll.
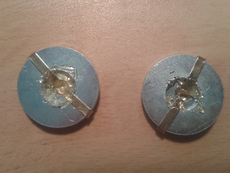
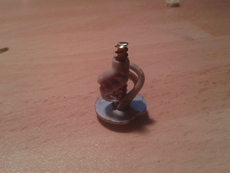
6) Bulb mechanics
First we take the washer and cut an edge out, so that we can later fit in the paperclip GND.
Now we put the screw anchor in the washer and mount the screw into it. It is important, that the screw is not connected to the washer, otherwise you'll have a shortcut. Please use a multimeter to verify.
Cutting the pointy end of the screw so that it fits into the bulb holder of the maglite.
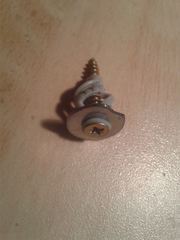
7) Mount LED on bulb
We put some solder onto the screw. This may take a minute or so, as the screw is big and needs a lot of heat to make the solder stick to it. Now we can solder the plus contact of the LED to the screw.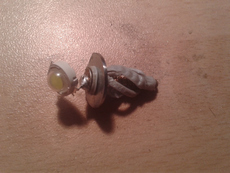
Then we use one foot of the paperclip and bend it.
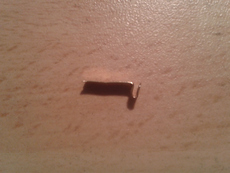
We get the paperclip into position to stick in the cutted edge on the washer and we connect it to the GND pin of the led with some solder.
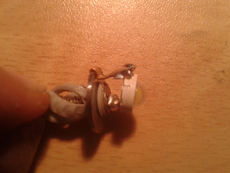
8) Finish
We mount our LED bulb into the mag lite.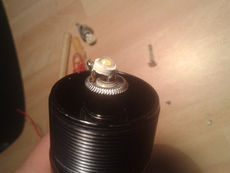
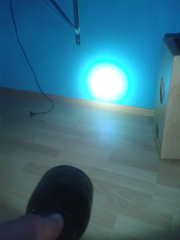
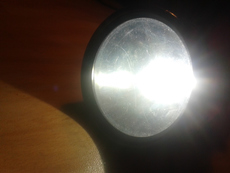
Let there be light
imprint